|

|
|

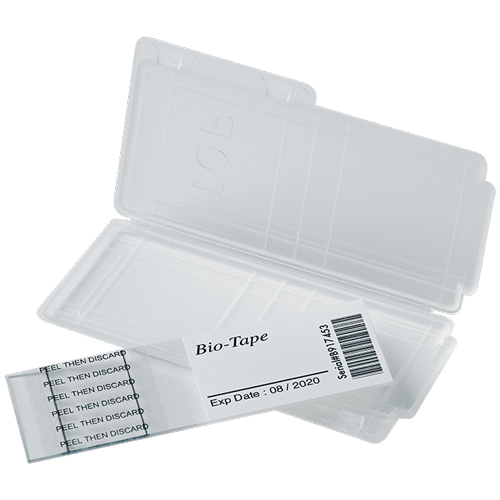


Mold Test Slides - Zefon Bio Tape
Zefon Bio Tape Slides allow you to quickly take a sample of suspected mold and measure the relative degree of contamination.
Zefon Bio Tape - Mold Test Slides
Zefon Bio-Tape Features:
- Provides sample consistency and uniformity
- Easier to handle than tape
- Individually Serialized for Traceability
- Prevents Cross Contamination
- Eliminates problems of placing tape in a zip bag, or broken slides during transport
- Requires less laboratory prep time.
- Ideal for mold sampling and testing
- Compatible with both optical microscope and scanning electron microscopy (SEM)
Sampling Procedure:
- Remove slide from provided slide mailer.
- Document the sample location on the slide label and complete any required documentation for the laboratory.
- Peel off protective liner from slide to expose adhesive.
- Place slide with the adhesive side down on the surface to be sampled. (Use the centering line to orient the adhesive over the exact sample location desired).
- Gently press down to ensure contact is made. Do not press down hard. The adhesive is very tacky and only needs to be pressed gently.
- Carefully remove slide from surface and place back into slide mailer. Do Not replace the plastic “Peel” liner.
- Send slide to laboratory for analysis.
Note: Multiple samples should be collected from both suspect and non-suspect (control) areas for comparison.
Product questions
-
04/01/2024, 02:22 PM
Can I buy 3 slides, that is all I need.
04/01/2024, 02:40 PMUnfortunately a 25 pack is the smallest we have.
-
08/01/2021, 11:14 AM
Where do you send the sample is there a specific place
08/02/2021, 09:05 AMA mold testing lab would be able to test your sample. There are labs all over the country that can meet your needs.
-
09/27/2020, 10:55 AM
How do you use this? Product arrived with no instructions
09/28/2020, 10:02 AMSampling Procedure:
1. Remove slide from provided slide mailer.
2. Document the sample location on the slide label and complete any required documentation for the laboratory.
3. Peel off protective liner from slide to expose adhesive.
4. Place slide with the adhesive side down on the surface to be sampled. (Use the centering line to orient the adhesive over the exact sample location desired).
5. Gently press down to ensure contact is made. Do not press down hard. The adhesive is very tacky and only needs to be pressed gently.
6. Carefully remove slide from surface and place back into slide mailer. Do Not replace the plastic “Peel” liner.
7. Send slide to laboratory for analysis.
Note: Multiple samples should be collected from both suspect and non-suspect (control) areas for comparison.